RadSense1 setup and options
Radsense 1 is ready to use out of the box, but you will need a USB power supply. We don’t supply this to let you select your own. Any USB charger will work as long as it can supply 1000mA. You’ll typically find a label on the device that tells how many mA it can deliver. 1000mA = 1A.
Inside the wall of the box, you can find a tiny screwdriver as well as a USB Type C cable. Use these to adjust and power your device. To start using the device, plug the USB cable into the USB adapter and the device. After a few seconds, the device will light up (unless this has been specifically turned off by a user of the device).
By default, the device is setup to display the color red when you are detected and a dim white when nothing is detected. Place the device safely on a table edge or a chair to test it. When you are within the detection zone of 3m (9ft), the light should be red. If you move further away, the light will fade to a dim white. When you are in the zone that the device can see, Output 1 will be opened or closed. This allows you to either make or break a connection.
If you only want to turn something on/off when someone enters the detections zone, you won’t need to do anything but to connect the wire you want to connect/disconnect. You do however have several options:
- You can select from different LED color combos or no LED using the Settings (below).
- You can tweak the precision/speed of the sensor using the Settings (below).
- You can detect two zones (near and far) and make/break two connections.
- For a more precise zone setup, use the Bluetooth BLE option.
Jump to
Changing settings
The device has a single button for changing settings for detection precision, visual feedback and sensitivity. The button is placed just above the USB connector. If you find it clumsy to press the button with your fingers, use the back of the complementary screwdriver.
Changing the precision
Pressing the button once will change the sensor precision. Once a click is detected, the device will show it’s current mode. The default mode is Precise Mode, indicated by two red blinks of the LED. If you click the button again (within 5 seconds), you’ll move on to the next mode. This is the list of modes supported:
- A single red blink: Fast Mode. In this mode, the device will only gather about 10 samples before making a selection. This feels more responsive, but it might give false positives sometimes. This is thus best suited for lighting or other applications where a false detection does not matter much.
- Two red blinks: Precise Mode will gather 30 samples over one second before changing detection zone. This mode is well suited for Presence detection to trigger video or audio playback.
- Three red blinks: Slow Mode, indicated by three red blinks. In this mode, the device will require 60 samples over 2 seconds to change the detection zone. The device will remember the current setting the next startup.
If you keep clicking the button (within 5 seconds), you’ll start to see Green blinks instead of red. This enables three modes with similar precision as above, but the first relay is now “sticky”. So when the user moves from Zone 1 to Zone 2, the first relay will stay on. It will stay on until the user moves out of Zone 1. If you’re using only one zone, both relays will turn on at once.
Feedback LED and imperial vs metric
Pressing the button twice within a second (double-click) to show the current mode of the builtin LED feedback light. Double-click the button again within 5 seconds to change to the next mode. The device has three modes:
- Traffic Light Mode (Red/Yellow/Green): The sensor will toggle between these three colors to indicate detection outside the zones, inside Zone 1 and inside Zone 2. If you are using only one zone (default settings, pot potmeters all the way to left), you will only see the Red light. If you have adjusted the potmeters to half their rotation, you will see a green light when the device sees you but you’re outside the detection area. The light will turn Yellow when you’re in Zone 2 and Red in Zone 1. This mode will output detection distance via Bluetooth as mm.
- American mode (Red/Blue/White). As above, but this mode will output sensor detection distance as Inches via Bluetooth.
- No Light Mode (LEDs are always turned off). As RGB mode, but no visible LEDs showing. Convenient to use if you must mount the sensor in a spot where it’s visible and you do not want anyone to focus on it. Keep in mind that you can also mount the sensor behind non-metal objects.
Filtering unwanted results
The sensor works by sensing the “energy level” around it. Specific things such as heat sources and even rain can cause false positives when sensing, so we’ve added a Filter feature that will make the sensor only accept specific energy levels. To change the Filter level, press and hold the settings button for 5 seconds and then release. This will change to the next Filter setting.
- A single blue blink is the “weak” filter. More or less anything is allowed to trigger the device. This is the default mode.
- A double blue blink is the “medium” filter. Use this mode if pets trigger the sensor or if a lamp pointed at the sensor turns it on at all times.
- A triple blue blink is the “strong” filter. The device is not water proof by any means, but if the device is mounted so that it can “see” rain, this is a good mode to use. Rain does apparently have a certain energy, so we have this filter option for those rare cases where there is a lot of noise around the sensor.
Detection zones 1 and 2
The device can detect presence in a range of 0-300cm (0-9 feet). The device has two relays that will close when someone is present. By default, the device is setup to only use a single relay since this is the easiest to understand and use.
A typical use case is to start a video or turn on a light when someone moves close. The device does however have the capability to trigger one relay when a person is 330cm away and another to trigger at another distance. This way, you can trigger a video player to get someones attention by playing a trailer. Once you know the user is in front of the display, you can play the full movie.
We call these detection zones 1 and 2. You can place the start of these at less than 330cm as well, so if you want relay 1 to turn on when a user is a meter away, you can do this as well. Then you can use relay 2 to turn another light on when the user is even closer.
Technically, the device can detect movement and people up to 500cm distance, but it cannot reliably detect Presence at that range, so we’re limiting the range to what the device will always be able to detect. Also – the device cannot precisely detect the first 0-30cm (from nothing to one foot), but it will know if someone is present or not within the range.
In video below you can see the device setup to use two detection zones. Here we’re controlling a BrightSign video player to toggle between still images.
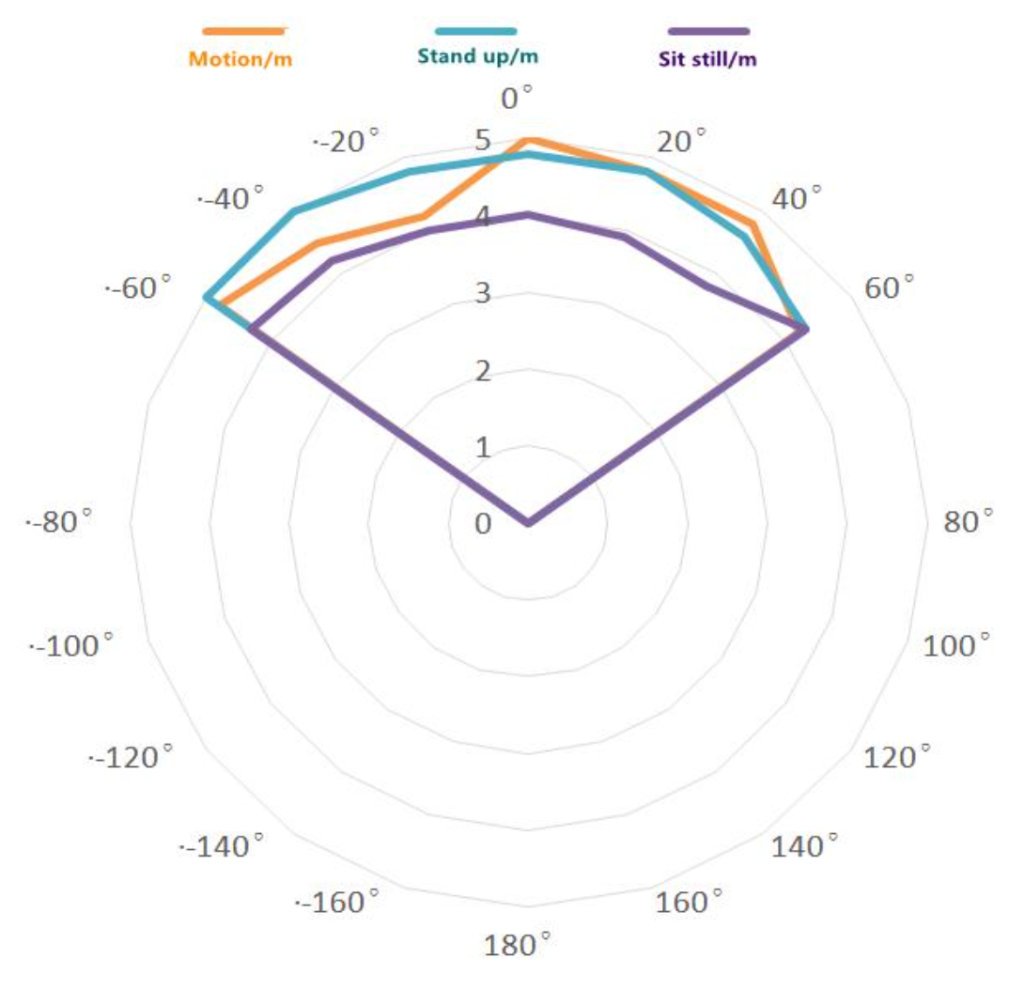
The detection angle is about 60 degrees to each side. Note that the device may also detect in the edge zone to a certain degree, so be mindful about placement. Aim the sensor towards what you want to see.
Adjusting the detection zones manually
You can tune when the relays activate by using the supplied screwdriver. You adjust by rotating the tiny potentiometers that are behind each screw terminal, but please be careful not to use too much force. The default settings (where only the first detection zone is used) is achieved by turning both potentiometers against the clock until they stop. This sets the first zone to be the full range of the device.
To precisely setup two zones, we recommend using Bluetooth. You can however do it without an app using the visual feedback provided by the LEDs. By default, this feedback consist of 4 colors. If the device cannot see anyone, it’ll display a very dim white light. Once it sees someone in Zone 1 (closest to the device) it’ll show a red light and close the leftmost relay. Unless you change the settings, this is the default behavior.
If you carefully rotate the left potmeter from minimum to maximum, you can “feel” the range. If you change it to about half of the possible range, you’ve now created two zones. Zone 1 is closest to the device. If you now move within 1.5 meters (5 feet) of the device, it’ll show a red light and close the left relay. You are now in Zone 1. If you go 2.5 meters (8 feet) away from the device, it’ll show a green light and close the rightmost relay to show that you’re now in Zone 2.
Up until now, we have not changed the right potmeter at all. If you set the left potmeter somewhere in the middle of it’s travel and then adjust the left potmeter, you are effectively reducing the size of Zone 2. The device will still detect up to 3 meters away (10 feet) and it will show this using a red light. Once you enter into Zone 2, the light will turn blue and when you enter into Zone 1 (closest to the device) the light will turn green.
This way of adjusting the range may work well in many cases. If you want higher precision, you should use the Bluetooth tool to view precisely what the device can “see”.
Adjusting the detection zones using Bluetooth
To activate Bluetooth for two minutes, press the Settings button once. You’ll find the button just above the USB connector. This will turn on a BLE Device called “RadSense1” that can be used with any general BLE reader app. We currently recommend using the app called “BLE Scanner” – available for both iPhone and Android devices. Be adviced that for some reason, Apple has allowed two apps with the same name. The one you want to download is from Bluepixel Technologies. In the video below, you can see how to install and use the Bluetooth app.
The device will publish a service that sends out a text string like this: “Zone 1 330cm, Zone 2 330cm, Detect 30cm”. Zone 1 is the zone closest to the device. Zone 2 is the zone furthest away from the device. Detect is the distance where the device can currently see someone.
Let’s do an example: if you want to close the left relay when a user is very close to the device, set it to 150cm. If you want to close the right relay as soon as the device sees anyone, set it to 330cm. This should produce a BLE output “Zone 1 150cm, Zone 2 330cm, Detect 30cm”.
If you’re in the USA, Liberia or Myanmar (The three countries using Imperial units as standard), you can change the device to American mode (see Settings). This will show the zones using Red/White/Blue LED colors as well as the measurements in inches so the output reads “Zone 1 130in, Zone 2 130in, Detect 12in”.
This also offers insight into what the sensor “can see”. Note that it is normal for the “Detect” value to jump a lot. This shows the raw data from the radar sensor at any given time. We create an average from this value over time. The amount of samples required can also be adjusted since this is a tradeoff between speed and precision.
General hints and tips
Using very small zones can be tricky to get right. Experiment with the settings for speed and filter to get the best result. Keeping the zones above 1 meter (3 feet) will yield best results. The Slow Mode works best for small zones.
If the sensor does not give solid results, keep in mind that there are limits to what materials a radar such as this can “see thru”. If the radar is placed behind a thick material, you can try to unscrew the upper part of the box
By physically modifying the plastick casing, you can make room for the USB and your wire connections when the board is flipped. In our tests, this works fine but keep in mind that using a DIN rail made of metal won’t work. Get a plastic version or mount using the screw holes.
Check out the FAQ in the Support section for more hints and tips.